Introduction
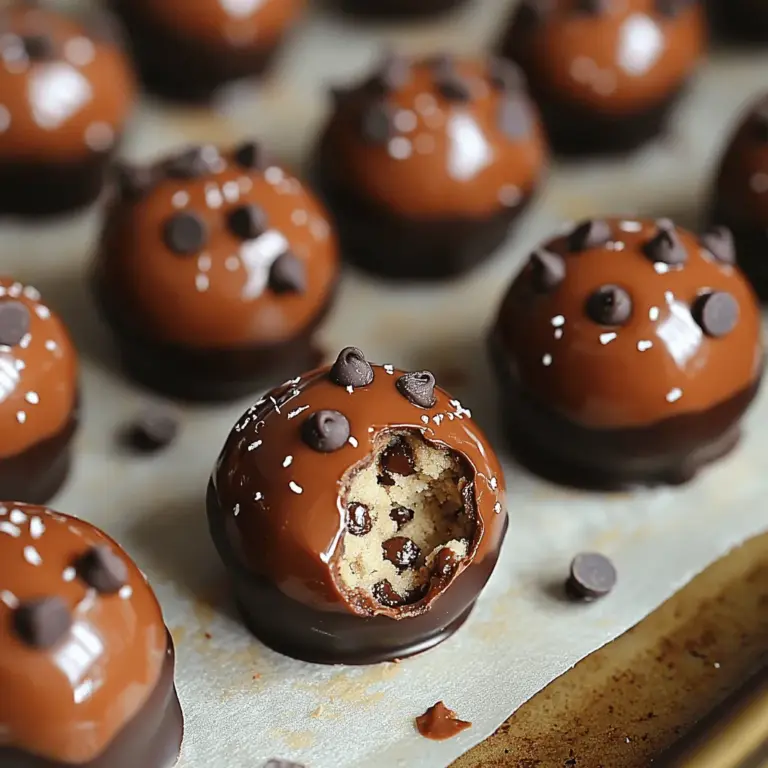
Imagine biting into a soft, chewy ball of cookie dough coated in a rich layer of chocolate. This is the allure of Chocolate Chip Cookie Dough Truffles, a treat that bridges the gap between cookie cravings and chocolate indulgence. These delectable bites are not just a dessert; they are an experience, a sweet escape that combines the comforting flavors of classic chocolate chip cookies with the elegance of gourmet truffles. Perfect for celebrations, gift-giving, or a well-deserved treat for yourself, these truffles are sure to impress anyone who takes a bite.
The appeal of making these truffles at home lies in their simplicity and the satisfaction that comes with creating something truly delicious from scratch. With just a handful of ingredients and a few easy steps, you can transform pantry staples into a decadent dessert that rivals any confectionery. Whether you are hosting a gathering, putting together a gift box for a friend, or simply treating yourself after a long day, these Chocolate Chip Cookie Dough Truffles will elevate any occasion.
Understanding the Basics of Cookie Dough Truffles
So, what exactly are cookie dough truffles? At their core, they are bite-sized morsels made from edible cookie dough that is rolled into balls and then dipped in chocolate. The beauty of cookie dough truffles lies in their unique combination of flavors and textures. The creamy, buttery cookie dough contrasts beautifully with the crisp chocolate shell, creating a delightful mouthfeel that is both comforting and indulgent.
This treat has gained immense popularity over the years, especially among those who adore the classic chocolate chip cookie but prefer a no-bake option. They offer a guilt-free way to enjoy cookie dough, as the recipe is crafted to ensure safety and taste. Unlike traditional cookie dough, which contains raw eggs and unbaked flour, homemade truffles use heat-treated flour and no eggs, making them safe to eat.
Variations of cookie dough truffles abound, with flavor combinations ranging from peanut butter to snickerdoodle and even gluten-free options. However, this particular recipe stands out for its classic approach, featuring the timeless chocolate chip flavor that many know and love. By using high-quality ingredients and following a straightforward process, you can create truffles that are not only scrumptious but also visually appealing, perfect for sharing or savoring alone.
Ingredient Breakdown
To craft the perfect Chocolate Chip Cookie Dough Truffles, we must consider each ingredient’s role in achieving the ideal flavor and texture. Here’s a detailed look at the essential components of this indulgent treat:
Unsalted Butter
The foundation of any great cookie dough recipe starts with unsalted butter. Using softened butter ensures that the truffle mixture has the right consistency, allowing for easy mixing and a creamy texture. Unsalted butter gives you control over the saltiness of your truffles, allowing you to adjust the flavor according to your preferences.
Sugars
A combination of granulated sugar and brown sugar is the secret to achieving the perfect balance of sweetness and moisture in your truffles. Granulated sugar provides sweetness, while brown sugar, with its added molasses content, adds depth and a slight chewiness to the dough. This duo of sugars will ensure your truffles are both sweet and satisfying, reminiscent of freshly baked cookies.
Vanilla Extract
Vanilla extract is a crucial ingredient that elevates the overall flavor profile of the truffles. Its warm, aromatic notes complement the sweetness of the sugars and enhance the buttery richness of the cookie dough. Opting for pure vanilla extract rather than imitation vanilla will yield a more robust flavor, making your truffles truly stand out.
All-Purpose Flour
While flour is a common ingredient in baked goods, it serves a different purpose in cookie dough truffles. All-purpose flour provides structure to the cookie dough base, ensuring it holds together well when rolled into balls. It is essential to use heat-treated flour in this recipe, as this process eliminates any harmful bacteria, making the truffles safe to eat without baking.
Chocolate Chips
No chocolate chip cookie dough is complete without the addition of chocolate chips. The type of chocolate chips you choose can significantly impact the overall taste of your truffles. Semi-sweet chocolate chips are the most traditional option, providing a classic flavor. However, feel free to experiment with milk chocolate or dark chocolate chips for a richer experience. Chunks or even flavored chips, such as peanut butter or butterscotch, can add a delightful twist to your truffles.
Salt
Though it may seem counterintuitive, adding a pinch of salt to your cookie dough truffles is essential for balancing the sweetness. Salt enhances the flavors of the butter and sugars, making the chocolate chips pop and providing a more rounded taste. It can elevate your truffles from good to unforgettable.
Dark Chocolate Coating
The outer layer of your truffles is just as important as the filling. Using dark chocolate for the coating adds a sophisticated richness that contrasts perfectly with the sweet cookie dough inside. Dark chocolate has a higher cocoa content, which not only deepens the flavor but also provides a satisfying snap when you bite into the truffle.
Coconut Oil
While optional, coconut oil can be used to create a smoother chocolate coating. By mixing a small amount of coconut oil with the melted chocolate, you can achieve a glossy finish that adheres well to the truffles. This ingredient also helps to prevent the chocolate from hardening too quickly, allowing for a more even coating.
Step-by-Step Guide to Making Chocolate Chip Cookie Dough Truffles
Now that you understand the foundational ingredients and their roles in creating Chocolate Chip Cookie Dough Truffles, let’s dive into the step-by-step process of making them. Each step is designed to ensure a smooth and enjoyable experience in the kitchen, leading to truffles that are sure to impress.
Step 1: Prepare the Cookie Dough Base
1. Cream the Butter and Sugars: In a mixing bowl, combine softened unsalted butter, granulated sugar, and brown sugar. Using an electric mixer, beat the mixture on medium speed until it becomes light and fluffy, typically about 2-3 minutes. This step is crucial, as it incorporates air into the batter, resulting in a softer truffle center.
2. Add Vanilla: Once the butter and sugars are well combined, add in the vanilla extract. Mix until fully incorporated, ensuring the vanilla flavor permeates the dough.
3. Incorporate the Dry Ingredients: In a separate bowl, whisk together the heat-treated all-purpose flour and salt. Gradually add this dry mixture to the wet ingredients, mixing on low speed until just combined. Be careful not to overmix; you want to maintain that tender texture.
4. Stir in the Chocolate Chips: Finally, gently fold in the chocolate chips using a spatula. This will ensure an even distribution of chocolate throughout the cookie dough.
Step 2: Chill the Dough
Once your cookie dough is fully prepared, it’s time to chill it. Cover the bowl with plastic wrap and refrigerate the dough for at least 30 minutes. Chilling the dough not only helps to firm it up for easier rolling but also allows the flavors to meld together, creating a more delicious truffle.
Step 3: Roll the Dough into Balls
After the dough has chilled, remove it from the fridge and use a cookie scoop or your hands to portion out small balls of dough, approximately one inch in diameter. Roll each piece of dough between your palms to create smooth balls. Place the formed dough balls on a parchment-lined baking sheet, spacing them about an inch apart.
Step 4: Freeze the Dough Balls
To ensure that your truffles hold their shape when dipped in chocolate, freeze the dough balls for at least 15-20 minutes. This step is crucial, as it prevents the dough from becoming too soft during the chocolate coating process.
Step 5: Prepare the Chocolate Coating
While the dough balls are chilling, it’s time to prepare the chocolate coating. In a microwave-safe bowl or a double boiler, melt the dark chocolate along with the optional coconut oil. If using a microwave, heat the chocolate in 30-second intervals, stirring in between, until completely melted and smooth.
Step 6: Dip the Dough Balls
Once your dough balls are sufficiently frozen and your chocolate is melted, it’s time to dip. Using a fork or a dipping tool, carefully lower each dough ball into the melted chocolate, ensuring it is evenly coated. Allow any excess chocolate to drip off before placing the coated truffle back onto the parchment-lined baking sheet.
Step 7: Let the Coating Set
After all the truffles have been coated in chocolate, place the baking sheet in the refrigerator for about 30 minutes to allow the chocolate to set firmly. Once set, your Chocolate Chip Cookie Dough Truffles are ready to enjoy!
By following these steps, you’ll create a delightful batch of homemade truffles that are sure to satisfy any sweet tooth. In the next part of this article, we will explore additional tips for best results and answer some common questions about making these scrumptious treats.
Creating the Base
To kick off our journey toward making Chocolate Chip Cookie Dough Truffles, we must first prepare the cookie dough base. The creaming method is a fundamental technique that plays a vital role in achieving the perfect texture. Begin by using a stand mixer or a large bowl with a hand mixer. Start by beating the softened unsalted butter and granulated sugar together on medium speed until the mixture is light and fluffy. This process usually takes about 2-3 minutes.
The importance of creaming lies in the incorporation of air into the butter, which helps to create a light and tender texture in the final product. You want to achieve a pale, creamy consistency that indicates the sugar has dissolved properly and the butter has been aerated. This step sets the foundation for your truffles, ensuring they are not too dense or crumbly.
Incorporating Flavors
Once your butter and sugar are well creamed, it’s time to enhance the flavor of your cookie dough by adding vanilla extract. This is a crucial step as vanilla not only adds sweetness but also deepens the overall flavor of the truffles. Pour in the vanilla extract and mix it on low speed just until incorporated. Be careful not to overmix at this stage; you just want to blend the flavors without incorporating too much air, which can alter the texture you’re looking for.
Mixing Dry Ingredients
Next, we move on to mixing the dry ingredients. In a separate bowl, whisk together all-purpose flour, baking soda, and a pinch of salt. The salt is essential as it balances the sweetness and enhances the flavors in the dough. Gradually add the dry mixture to the creamed butter and sugar mixture. Mix on low speed until just combined. It’s crucial to avoid overmixing here, as too much mixing can activate the gluten in the flour, resulting in a tough texture. Stop mixing as soon as you no longer see any dry flour; a few lumps are perfectly fine.
Folding in Mini Chocolate Chips
Now comes the best part—folding in the mini chocolate chips. Using a spatula, gently fold in the chocolate chips to ensure they are evenly distributed throughout the dough. This technique is vital for achieving maximum chocolate flavor in every bite. Be gentle during this process; you want to maintain the lightness of the dough while ensuring that the chocolate chips are incorporated evenly. If you don’t have mini chocolate chips, regular ones will also work, but mini chips tend to distribute better throughout the dough.
Chilling the Dough
With the dough prepared, it’s time to chill it. Chilling the dough is a crucial step that enhances the flavor and texture of the truffles. As the dough cools, it firms up, making it easier to shape into uniform balls later. It also allows the flavors to meld together, resulting in a more flavorful truffle. Wrap the bowl tightly with plastic wrap or transfer the dough to an airtight container, and place it in the refrigerator for at least 30 minutes.
Shaping the Truffles
After chilling, remove the dough from the fridge. To shape the truffles, use a small cookie scoop or your hands to portion out uniform amounts of dough, about one tablespoon each. This consistency is important for even cooking and a polished presentation. Roll the portions into smooth balls and place them on a baking sheet lined with parchment paper. If your hands are getting sticky, you can lightly dust them with flour to make rolling easier. Once all the dough is shaped, return the truffles to the refrigerator for another 15 minutes to firm up further.
Melting Chocolate
Now, let’s move on to the chocolate coating. For melting chocolate, you can use either a microwave or a double boiler. If using a microwave, break your chocolate (either dark, milk, or a combination) into small, even pieces and place them in a microwave-safe bowl. Heat in 30-second intervals, stirring in between until the chocolate is completely melted and smooth. Be cautious not to overheat the chocolate, as it can seize up and become unusable.
If you prefer using the double boiler method, fill a saucepan with a few inches of water and bring it to a gentle simmer. Place a heatproof bowl on top, ensuring it does not touch the water, and add the chocolate. Stir continuously until melted and smooth.
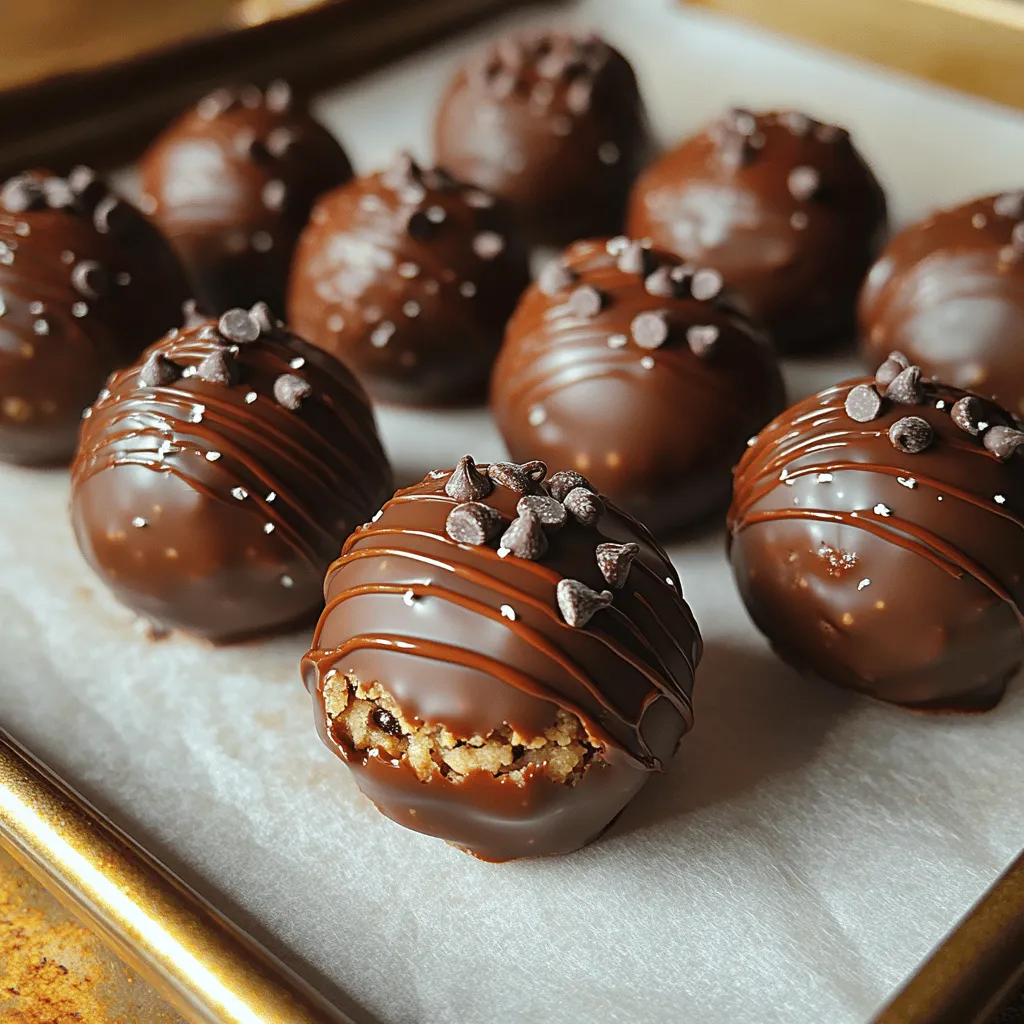
Coating the Truffles
Once your chocolate is melted, it’s time to coat the truffles. Using a fork or a dipping tool, carefully dip each truffle into the melted chocolate, ensuring it is fully coated. Allow any excess chocolate to drip off before placing the truffle back onto the parchment-lined baking sheet. If you’d like to add a decorative touch, you can sprinkle a pinch of sea salt or additional mini chocolate chips on top of each truffle before the chocolate sets.
Setting the Truffles
After coating all the truffles, place them in the refrigerator to set. This cooling period is important; it allows the chocolate to harden, giving the truffles a beautiful finish. Allow them to chill for at least 30 minutes or until the chocolate is firm to the touch.
Serving Suggestions and Pairings
These Chocolate Chip Cookie Dough Truffles are not only a delightful treat but also incredibly versatile when it comes to serving options. Here are some creative ideas:
– Presentation Ideas: Consider placing the truffles in decorative boxes or jars with a ribbon for a charming gift. For a more elegant presentation, arrange them on a platter and dust with powdered sugar or cocoa powder, or serve them on a tiered cake stand.
– Beverage Pairings: Pair these sweet treats with a variety of beverages for a perfect match. A tall glass of cold milk is a classic choice, enhancing the cookie dough flavor beautifully. For adults, a rich coffee or espresso complements the sweetness of the truffles. Alternatively, consider serving them with a dessert wine or a creamy dessert liqueur for a sophisticated twist.
– Occasions for Serving: These truffles are ideal for various occasions, from birthday parties and holiday celebrations to casual get-togethers or as a delightful homemade gift. They also make fantastic additions to cookie platters during the festive season or as a sweet surprise for a potluck.
Storage and Shelf Life
To maintain the freshness of your Chocolate Chip Cookie Dough Truffles, proper storage is key. Store the truffles in an airtight container in the refrigerator. They will keep well for up to one week, although they are best enjoyed within the first few days for optimal flavor and texture. If you want to make them in advance for an event, you can prepare the truffles and keep them refrigerated until you’re ready to serve.
For longer storage, consider freezing the truffles. Place them in a single layer on a baking sheet and freeze until solid. Once frozen, transfer them to a freezer-safe container or bag. They can last in the freezer for up to three months. When you’re ready to enjoy them, simply transfer the truffles to the refrigerator a few hours before serving to allow them to thaw.
Conclusion
Crafting Chocolate Chip Cookie Dough Truffles at home is a joyful experience that allows you to indulge in the simple pleasure of homemade treats. With their rich flavor and appealing presentation, these truffles are sure to impress family and friends alike. As you experiment with flavors and variations—such as adding nuts, different types of chocolate, or a touch of sea salt—you’ll discover new dimensions to this classic treat.
Embrace the satisfaction of creating these decadent confections, and enjoy the delightful balance of simplicity and indulgence they offer. Whether for a special occasion or just a sweet craving, your homemade Chocolate Chip Cookie Dough Truffles will surely be a hit. So, gather your ingredients, follow the steps, and savor every delectable bite of your creations!