Introduction
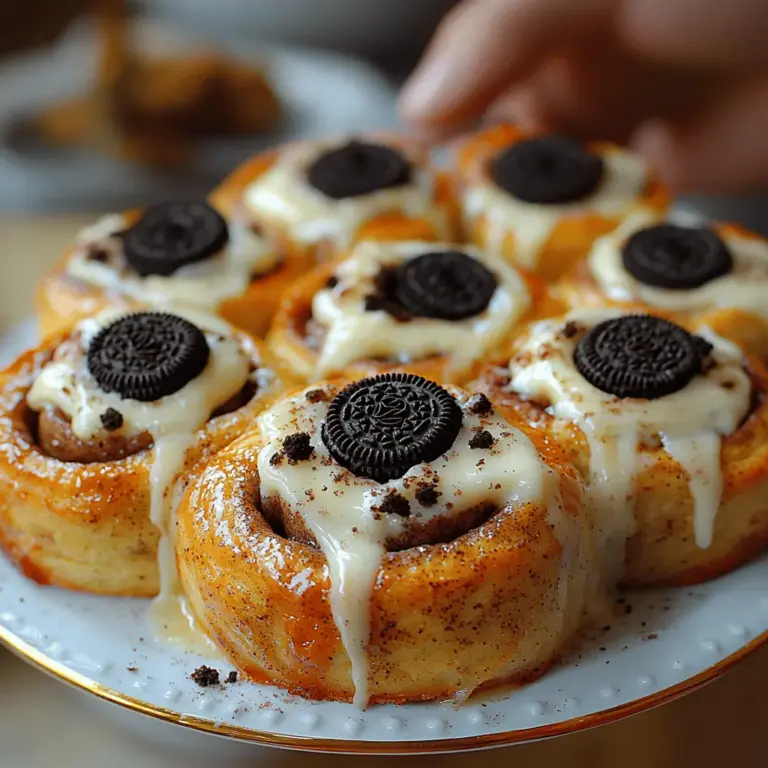
If you’re a fan of both sweet, gooey cinnamon rolls and the iconic flavor of Oreo cookies, then you’re in for a delightful treat. The combination of these two beloved desserts results in a decadent dessert that is sure to impress anyone who takes a bite. Imagine biting into a warm, fluffy cinnamon roll swirled with a rich Oreo filling, topped with a luscious cream cheese frosting. This recipe for Oreo Cookies and Cream Cinnamon Rolls marries the classic cinnamon roll with the irresistible flavor of Oreo cookies, creating a dessert that is both nostalgic and innovative.
These cinnamon rolls are not just any ordinary treat; they bring a unique texture and taste that caters to both cinnamon roll enthusiasts and cookie lovers alike. The layers of cinnamon-infused dough and crushed Oreo cookies create a harmonious blend of flavors that is hard to resist. Plus, the satisfaction of making these treats from scratch adds an extra layer of joy to your baking experience. Whether you’re hosting a brunch, celebrating a special occasion, or simply treating yourself, these cinnamon rolls will undoubtedly become a favorite in your household.
Understanding the Ingredients
To create the perfect Oreo Cookies and Cream Cinnamon Rolls, it’s essential to understand the key components of the recipe. Let’s break down the ingredients that contribute to the delightful texture and flavor of these rolls.
The Cinnamon Roll Dough
1. All-Purpose Flour: All-purpose flour serves as the backbone of the cinnamon roll dough. The right flour is crucial for achieving the desired texture and structure. It provides the necessary gluten, which gives the rolls their chewy yet soft texture. Using all-purpose flour balances the elasticity needed for rising while remaining soft enough to melt in your mouth.
2. Active Dry Yeast: The yeast plays a pivotal role in the rising process and flavor development of the rolls. Active dry yeast, when activated, ferments the sugars present in the dough and produces carbon dioxide. This gas creates air pockets, allowing the dough to rise and become fluffy. The yeast also contributes to the overall flavor, giving the rolls a slight tanginess that complements the sweetness.
3. Granulated Sugar: Sugar is not just a sweetener in this recipe; it’s also essential for the browning process during baking. Granulated sugar contributes to the overall sweetness of the cinnamon rolls and helps in achieving a beautiful golden-brown color on the exterior. Additionally, it feeds the yeast, promoting a better rise.
4. Warm Milk: Warm milk is an important ingredient that activates the yeast and adds moisture to the dough. The warmth encourages the yeast to bloom, ensuring a good rise. Milk also contributes to the softness of the dough, making the final rolls tender and fluffy.
The Filling Ingredients
Now that we’ve covered the dough, it’s time to explore the filling ingredients that elevate these cinnamon rolls to the next level.
1. Brown Sugar and Cinnamon: The combination of brown sugar and cinnamon is a classic flavor pairing found in traditional cinnamon rolls. Brown sugar adds a deep, caramel-like sweetness that complements the warm, spicy notes of cinnamon. Together, they create a rich filling that enhances the overall flavor profile of the rolls.
2. Oreo Cookies: The star ingredient of this recipe, crushed Oreo cookies, adds a unique twist to the classic cinnamon roll. The chocolatey flavor of the cookie combined with its cream filling brings an indulgent richness that is simply irresistible. The crunchy texture of the Oreos contrasts beautifully with the soft dough, creating a delightful eating experience.
The Cream Cheese Frosting
To finish off these cinnamon rolls, a decadent cream cheese frosting is a must.
1. Cream Cheese: The cream cheese gives the frosting its characteristic tanginess and richness. It balances the sweetness of the sugar, creating a smooth and creamy topping that pairs perfectly with the cinnamon rolls.
2. Powdered Sugar: Powdered sugar is used to sweeten the frosting and give it a smooth, velvety texture. Its fine consistency allows it to blend seamlessly with the cream cheese, resulting in a luscious frosting that melts in your mouth.
Step-by-Step Instructions for Making Oreo Cookies and Cream Cinnamon Rolls
Now that you’re familiar with the ingredients, it’s time to dive into the step-by-step instructions for preparing these mouthwatering cinnamon rolls. Follow these detailed steps to create the perfect Oreo Cookies and Cream Cinnamon Rolls.
Preparing the Dough
1. Activate the Yeast: In a small bowl, combine 1 cup of warm milk (about 110°F) with 2 ¼ teaspoons of active dry yeast and 2 tablespoons of granulated sugar. Stir gently to dissolve the yeast and sugar. Allow the mixture to sit for about 5-10 minutes until it becomes frothy. This indicates that the yeast is alive and ready to work its magic.
2. Mix the Dry Ingredients: In a large mixing bowl, whisk together 4 cups of all-purpose flour, ½ teaspoon of salt, and ½ cup of granulated sugar. Mixing these dry ingredients ensures that the salt and sugar are evenly distributed throughout the flour.
3. Combine Wet and Dry Ingredients: Once the yeast mixture is frothy, add it to the dry ingredients along with 1 large egg and ¼ cup of melted butter. Use a wooden spoon or spatula to mix until a shaggy dough begins to form.
4. Knead the Dough: Transfer the dough to a lightly floured surface and knead for about 8-10 minutes. Kneading is crucial as it develops the gluten, resulting in a dough that is elastic and smooth. If the dough feels sticky, sprinkle in a little more flour as needed.
5. First Rise: Place the kneaded dough into a greased bowl, cover it with a clean kitchen towel or plastic wrap, and let it rise in a warm, draft-free area for about 1 to 1.5 hours or until it has doubled in size. An ideal rising temperature is around 75-80°F. If your kitchen is cooler, consider preheating the oven to the lowest setting for a few minutes, then turning it off and placing the dough inside to rise.
Creating the Oreo Filling
1. Prepare the Oreo Mixture: While the dough is rising, you can prepare the filling. Take about 15 Oreo cookies and crush them into coarse crumbs. You can do this by placing them in a ziplock bag and using a rolling pin or by pulsing them briefly in a food processor. Set aside.
2. Combine Filling Ingredients: In a medium-sized bowl, mix the crushed Oreos with ½ cup of brown sugar and 2 tablespoons of ground cinnamon. This mixture will provide the sweet and spicy filling that will complement the dough beautifully.
By following these detailed steps, you’ll be on your way to creating delicious Oreo Cookies and Cream Cinnamon Rolls that will tantalize your taste buds and impress anyone who tries them. Stay tuned for the next part of this article, where we’ll cover the assembly, baking, and frosting of these delightful rolls!
Techniques for Rolling Out Dough Evenly and Applying the Filling
When making Oreo Cookies and Cream Cinnamon Rolls, achieving a perfectly rolled-out dough is essential for creating delicious, fluffy rolls. Start by lightly flouring your surface to prevent sticking, but avoid using too much flour, as this can make the dough tough. Use a rolling pin to roll the dough into a rectangle about 1/4 inch thick.
As you roll, apply gentle, even pressure, and keep the dough moving to maintain an even thickness. Pay close attention to the corners, ensuring they are not thicker than the center. This technique is crucial because an unevenly rolled dough can lead to inconsistent baking and filling distribution.
Once your dough is rolled out, it’s time to apply the filling. Spread the softened butter evenly across the surface of the dough, leaving a small border around the edges. Next, sprinkle the crushed Oreo cookies and cinnamon mixture uniformly over the butter. The importance of even distribution cannot be overstated; it ensures every bite is packed with flavor. For the best results, use your fingers to gently press the filling into the buttered dough, helping it adhere better and preventing it from spilling out during the rolling process.
Rolling and Cutting the Dough
With your filling applied, it’s time to roll the dough. Start at one long edge and gently roll the dough towards the opposite edge, creating a tight log. Be careful not to roll too tightly, as this can compress the filling and affect the final texture of your rolls. As you roll, ensure the filling stays put by tucking it in with your fingers if necessary.
Once rolled, it’s time to cut your dough into individual rolls. Using a sharp knife or a piece of unflavored dental floss (which can create a clean cut without squishing the rolls), slice the log into 12 equal pieces. This method ensures that each roll maintains its shape and that the filling stays intact. A good rule of thumb is to cut the log in half, then cut each half into six equal pieces. This will help you achieve uniform sizes, which is essential for even baking and a visually appealing presentation.
Second Rise: Why It’s Crucial for Fluffy Rolls
After cutting your rolls, place them in a greased baking dish, leaving a bit of space between each roll. Cover the dish with a clean kitchen towel and allow the rolls to rise for about 30-45 minutes in a warm place. This second rise is crucial because it allows the yeast to do its work, creating air pockets within the dough, which results in fluffy, light rolls.
During this rise, the dough will expand, filling the gaps between each roll and leading to that coveted, soft texture. If you skip this step or don’t allow enough time for the rolls to rise, you may end up with dense, bread-like cinnamon rolls, which is not the desired outcome for this recipe.
Baking the Rolls
Preheat your oven to 350°F (175°C) while your rolls are rising. Once they have doubled in size, it’s time to bake them. Place the baking dish in the center of the oven and bake for 20-25 minutes. The rolls should be golden brown and puffed up when they are done.
To check for doneness, gently press the top of a roll; it should spring back lightly. Another indicator is the internal temperature; the rolls should reach around 190°F (88°C) for optimal fluffiness. If they start to darken too quickly, cover them loosely with aluminum foil to prevent burning.
Once baked, allow the rolls to cool in the dish for about 10 minutes. This cooling period is essential before applying the frosting, as it prevents the frosting from melting off and ensures it adheres properly to the rolls.
Making the Cream Cheese Frosting
While the rolls are cooling, it’s time to prepare the cream cheese frosting. Start by ensuring your cream cheese and butter are at room temperature; this is important for easy mixing and achieving a smooth consistency. In a mixing bowl, combine the softened cream cheese, butter, powdered sugar, vanilla extract, and a pinch of salt. Beat the mixture using an electric mixer on medium speed until it’s light and fluffy, about 2-3 minutes.
For the right frosting consistency, you want it to be thick enough to hold its shape but spreadable. If it’s too thick, add a splash of milk, one tablespoon at a time, until you reach your desired consistency. Taste the frosting and adjust the sweetness by adding more powdered sugar or a dash of vanilla extract for enhanced flavor.
Frosting and Serving Suggestions
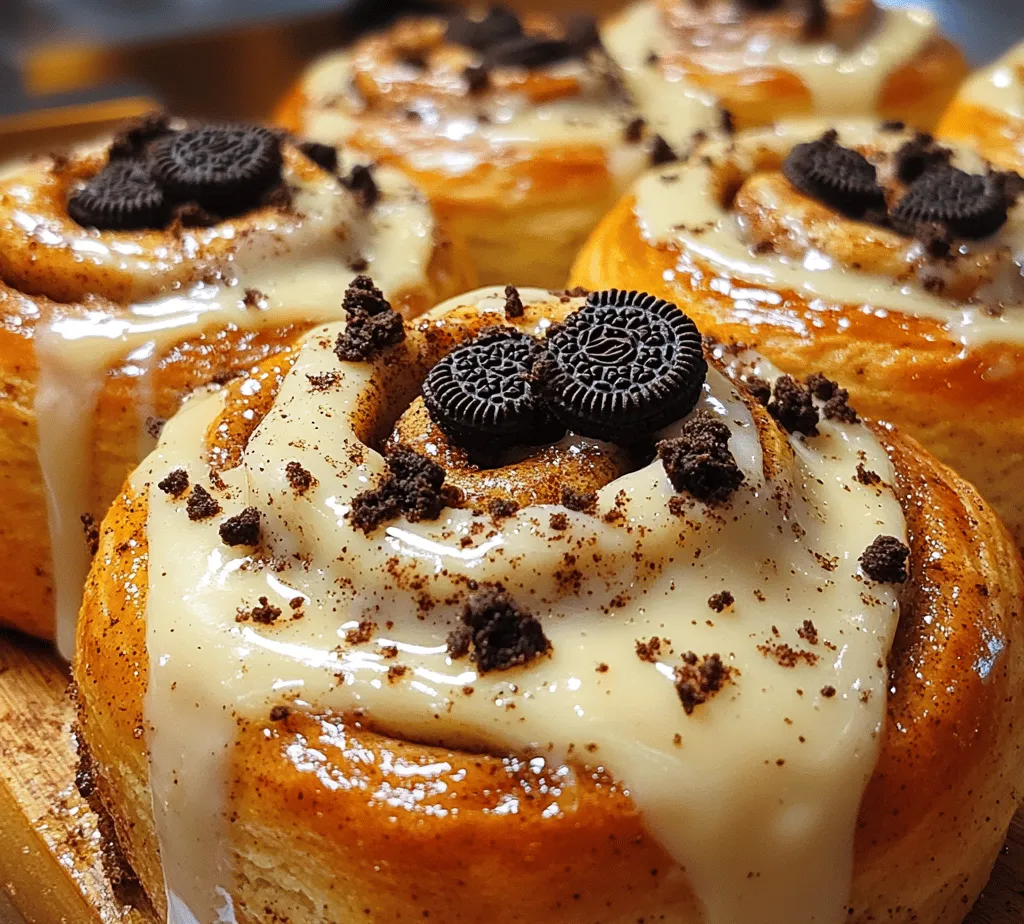
Now that your rolls are cooled and your frosting is ready, it’s time to assemble the final product. Using a spatula, generously spread or drizzle the cream cheese frosting over the warm rolls, allowing it to melt slightly into the crevices. For an extra touch, consider drizzling a chocolate glaze or adding crushed Oreos on top for a beautiful presentation.
To elevate your serving experience, consider pairing these cinnamon rolls with a scoop of vanilla ice cream or a dollop of whipped cream for a decadent dessert. You can also serve them alongside a cup of coffee or hot chocolate, making them a fantastic treat for brunch or dessert.
Storage and Reheating Tips
If you have any leftover cinnamon rolls (though they’re likely to disappear quickly!), store them in an airtight container at room temperature for up to 2 days. For longer storage, you can refrigerate them for up to a week. To keep the rolls fresh, consider wrapping them individually in plastic wrap before placing them in the container.
When it comes to reheating, the microwave is a quick option. Place a roll on a microwave-safe plate and cover it with a damp paper towel. Heat in 10-15 second intervals until warmed through. This method helps retain moisture and prevents the rolls from becoming dry. Alternatively, you can reheat them in the oven at 350°F (175°C) for about 10 minutes for a crispier exterior.
Conclusion
Making Oreo Cookies and Cream Cinnamon Rolls is not just about baking; it’s about creating an experience filled with delightful aromas and rich flavors. From the initial mixing of ingredients to the final frosting application, each step brings you closer to enjoying a delicious treat that can brighten any day.
Encourage yourself to experiment with this recipe in your own kitchen, adding your personal twist or trying different fillings and frostings. These cinnamon rolls are versatile enough to be enjoyed for breakfast, as a midday snack, or as a show-stopping dessert at gatherings. By embracing the joy of baking, you’ll not only satisfy your sweet tooth but also create lasting memories with friends and family. So gather your ingredients and get ready to indulge in the ultimate cinnamon roll experience!
