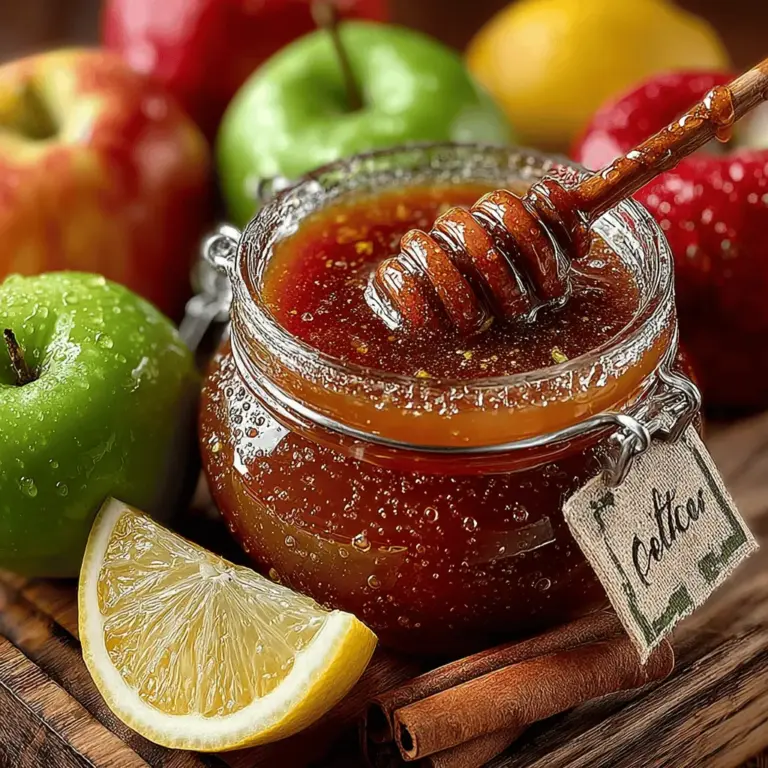
Cozy Spiced Fall Crockpot Apple Butter Recipe
As autumn sweeps in, bringing with it the vibrant hues of changing leaves and the crispness of cool air, there’s a delightful culinary tradition that many look forward to each year: making apple butter. This rich, spreadable delight is not just a simple condiment; it embodies the essence of the fall season. Apple butter is a concentrated apple spread, simmered slowly to develop deep, complex flavors that evoke warmth and comfort, making it a staple in many kitchens during the cooler months.
The beauty of homemade apple butter lies not only in its luscious taste but also in its ability to fill your home with the inviting aromas of spices and simmering fruit. It’s a nostalgic recipe that harkens back to simpler times when families would gather to preserve the bounty of apple harvests. Making apple butter in a crockpot is a particularly convenient method, allowing you to set it and forget it while your home fills with the enticing scent of sweet apples and warm spices. This recipe is designed to be easy and approachable, perfect for both seasoned cooks and those new to the kitchen.
Understanding Apple Butter
To truly appreciate apple butter, it’s important to first understand what it is and how it differs from other apple-based products, such as apple sauce. Apple butter is a smooth, thick spread made from apples that have been slow-cooked and reduced with sugar and spices. It has a rich, caramelized flavor, achieved through the long cooking process that allows the natural sugars in the apples to concentrate and meld with the added spices. In contrast, apple sauce is typically chunkier, less sweet, and often served as a side dish rather than a spread.
Historically, apple butter has roots in both European and American traditions. It is believed to have originated in Germany, where it was a method of preserving apples for the winter months. Early American settlers adopted this practice, making apple butter a beloved staple in many households. Over time, it has evolved into a versatile ingredient, used not just as a spread on toast or biscuits, but also as an ingredient in baking, a topping for pancakes, and even a flavorful addition to savory dishes.
The versatility of apple butter is one of its greatest strengths. Beyond spreading it on warm bread, you can incorporate it into muffins, cakes, and oatmeal, or pair it with cheese and charcuterie for a delightful appetizer. As the days grow shorter and the weather turns chilly, having a jar of homemade apple butter on hand can bring a cozy touch to any meal.
Choosing the Right Apples
One of the most crucial steps in making apple butter is selecting the right apples. The type of apples you choose will significantly impact the flavor and texture of your final product. A harmonious blend of sweet and tart apples can create a depth of flavor that elevates your apple butter.
For sweetness, consider using varieties like Fuji or Honeycrisp. These apples are known for their juicy, crisp texture and naturally high sugar content, making them perfect for creating a sweet base. On the other hand, tart varieties such as Granny Smith can provide a refreshing contrast, balancing out the sweetness and adding complexity to the flavor profile.
To achieve the perfect balance of sweetness and tartness, it’s advisable to use a mix of apples. A combination of two or three varieties can enhance the overall taste and ensure a well-rounded apple butter. Don’t be afraid to experiment with what’s available at your local orchard or farmer’s market; fresh, seasonal apples will yield the best results.
Essential Ingredients for Cozy Spiced Fall Crockpot Apple Butter
Creating a comforting batch of cozy spiced fall crockpot apple butter requires a handful of essential ingredients, each playing a vital role in building flavor and texture:
– Apples: The star of the show, apples are the foundation of your apple butter. Their natural sugars and pectin contribute to both the sweetness and the thick consistency that apple butter is known for.
– Granulated Sugar and Brown Sugar: A blend of these sugars adds sweetness and depth to the apple butter. Granulated sugar provides a clean sweetness, while brown sugar brings in rich caramel notes that enhance the overall flavor.
– Lemon Juice: This ingredient not only adds a bright acidity that balances the sweetness of the apples but also helps preserve the fresh flavor of your apple butter, ensuring it stays vibrant and delicious.
– Spices (Cinnamon, Nutmeg, Allspice, Cloves): The warm spices are what give apple butter its signature flavor. Cinnamon is a classic choice, while nutmeg, allspice, and cloves add layers of aromatics that evoke the essence of fall.
– Salt: A pinch of salt is essential to enhance the overall flavor of the apple butter. It helps to bring out the sweetness of the apples and spices, creating a more balanced spread.
– Vanilla Extract: Adding vanilla extract introduces a warm, complex flavor that rounds out the profile of the apple butter, making it even more irresistible.
– Apple Cider or Water: This liquid is necessary to provide moisture during the cooking process, helping the apples to soften and break down into a smooth butter. You can choose to use apple cider for an extra layer of flavor or simply water if you prefer.
With these ingredients in hand, you’re ready to embark on the delightful journey of making cozy spiced fall crockpot apple butter.
Step-by-Step Instructions for Making Apple Butter
The first step in crafting your homemade apple butter is the preparation of the apples. Begin by thoroughly washing the apples to remove any dirt or residues from the surface. Once clean, you’ll want to peel, core, and slice the apples. This process can be made easier with an apple peeler or corer, but a sharp knife works just as well. Aim for uniform slices to ensure even cooking.
After preparing the apples, place them into your crockpot. This is where the magic happens. The slow cooking process allows the apples to break down gradually, releasing their natural juices and sugars while mingling with the added spices and sugars.
Next, measure out your sugars, lemon juice, and spices, and add them to the crockpot. Stir everything together gently, ensuring that the apples are well-coated with the mixture. This is a crucial step, as it helps to develop the flavors early on in the cooking process. If you’re using apple cider, pour it in at this stage, as it will provide the necessary liquid for cooking.
With everything in the crockpot, cover it and set your device to low heat. Let the mixture cook for several hours, typically around 8 to 10 hours, stirring occasionally. The long cooking time allows the flavors to meld beautifully, and the apples will transform into a thick, luscious butter.
As the apple butter cooks, your kitchen will be filled with the warm, inviting aromas of cinnamon and baked apples, making it a truly cozy experience. Once the cooking time is complete and your apple butter has reached the desired consistency, it will be ready for canning or simply enjoying right away.
Stay tuned for the next part of this article, where we’ll delve into the final steps of making apple butter, including how to store it and some creative ways to use your delicious creation.
Importance of Peeling, Coring, and Slicing for Even Cooking
When making apple butter, one of the most crucial steps is preparing the apples correctly. Peeling, coring, and slicing the apples not only makes them easier to cook down but also ensures they cook evenly. Leaving the skins on can result in a grainy texture, which is not desirable in a smooth apple butter.
Tips for Efficient Apple Prep
1. Use the Right Tools: A good peeler and corer will save you time and effort. Consider using an apple corer that slices the apple into wedges, making the process faster.
2. Choose the Right Apples: Opt for a mix of sweet and tart apples for a balanced flavor. Popular choices include Granny Smith, Honeycrisp, and Fuji.
3. Batch Processing: Prepare the apples in batches to avoid browning. As you peel and slice, place them in a bowl of water mixed with a little lemon juice to keep them fresh.
Mixing Ingredients
Once your apples are prepped, it’s time to mix in the spices and sweeteners that will elevate your apple butter.
How to Properly Combine Ingredients for Optimal Flavor Infusion
1. Layering Flavors: Start by placing the sliced apples in the crockpot. Add in your spices—cinnamon, nutmeg, and allspice—and sweeteners, such as brown sugar or maple syrup. Layering these ingredients allows the flavors to meld together as they cook.
2. Mixing Techniques: Use a spoon to gently mix the ingredients in the crockpot. This ensures that the spices and sugars are evenly distributed among the apple slices, leading to a more consistent flavor profile throughout your apple butter.
Cooking in the Crockpot
Cooking apple butter in a crockpot is a low-stress method that allows for deep flavor development.
Low vs. High Cooking Settings and Their Effects on Texture and Flavor
– Low Setting: Cooking on low for 8-10 hours allows the apples to slowly break down and caramelize, resulting in a richer flavor and smoother texture. This method is ideal for those who want to set it and forget it overnight.
– High Setting: If you’re short on time, using the high setting for 4-6 hours will also yield delicious results, although the flavor may not be as deep or complex as with the low setting.
Anticipating Cooking Times and Checking for Doneness
Keep in mind that cooking times can vary based on the type of apples used and the specific crockpot model. About an hour before the cooking time is up, check the mixture for doneness. The apples should be very soft and easily mashable. If they are not breaking down as expected, give them a stir and check again in another 30 minutes.
Blending the Mixture
Once your apples have cooked down and softened, it’s time to blend the mixture to achieve your desired consistency.
Techniques for Achieving the Desired Consistency: Smooth vs. Chunky Apple Butter
– Smooth Apple Butter: For a silky-smooth texture, use an immersion blender directly in the crockpot. This tool is convenient and minimizes cleanup. Blend until you reach your preferred smoothness.
– Chunky Apple Butter: If you enjoy a bit of texture in your apple butter, you can use a potato masher to break down the apples while leaving some larger pieces intact.
Recommendations for Tools: Immersion Blender vs. Food Processor
While an immersion blender is great for convenience, a food processor can provide a more uniform texture if you prefer to blend in batches. Just be careful not to over-process; you want to retain some of that delightful apple character.
Final Steps
After blending, there are a few final adjustments to make before your apple butter is ready for storage.
How to Adjust Consistency if Apple Butter is Too Watery
If your apple butter turns out too watery, don’t worry! Simply continue cooking it on the low setting with the lid slightly ajar for an additional hour or two. This allows moisture to evaporate and thickens the mixture.
Importance of Sterilizing Jars for Storage
To store your homemade apple butter safely, it’s essential to use sterilized jars. Boil the jars and lids in water for 10 minutes, then let them air dry. This process helps to prevent contamination and prolongs the shelf life of your apple butter.
Storing and Enjoying Your Apple Butter
Proper storage is key to enjoying your homemade apple butter for months to come.
Best Practices for Storing Apple Butter: Refrigeration vs. Freezing
– Refrigeration: Once cooled, store apple butter in airtight jars in the refrigerator. It can last for up to two weeks.
– Freezing: For longer storage, consider freezing your apple butter. Use freezer-safe jars, leaving some space at the top to allow for expansion. Frozen apple butter can last up to a year.
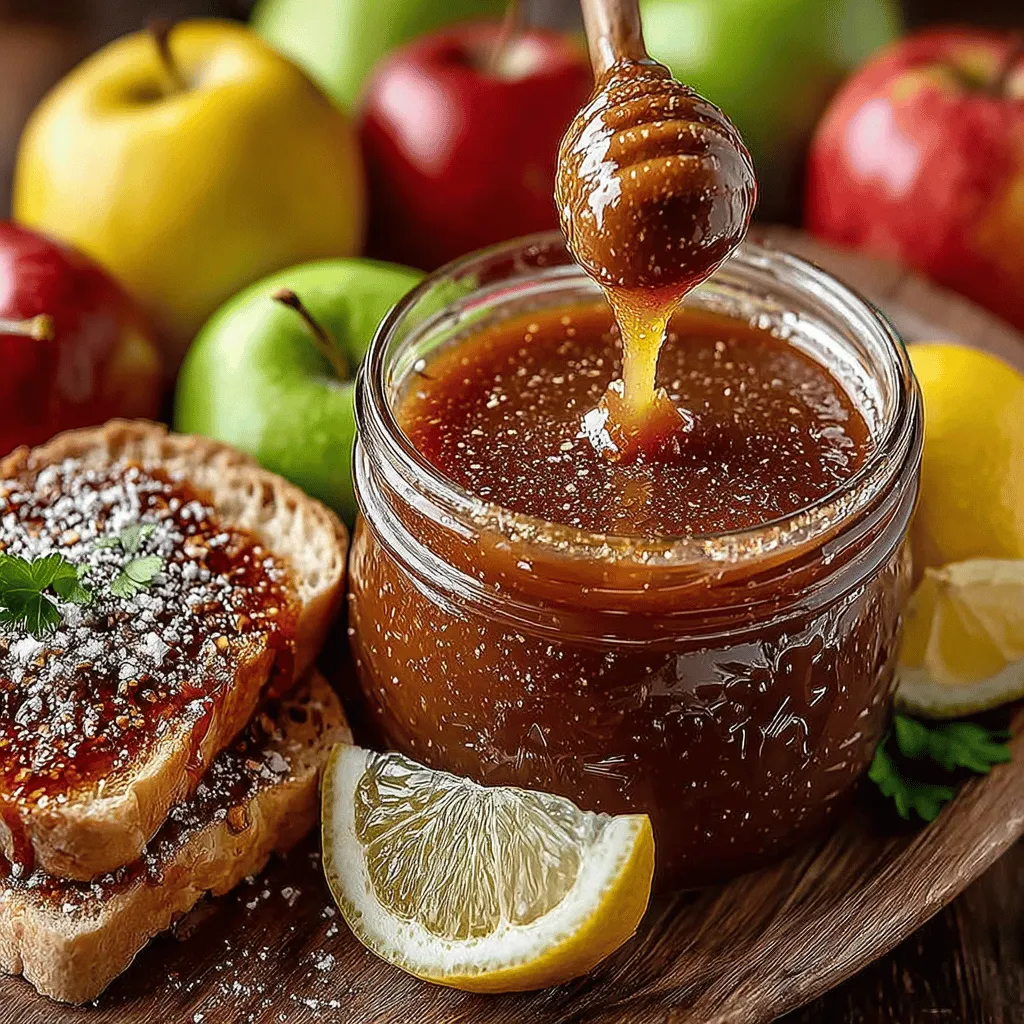
Suggested Serving Ideas
1. Spreading on Toast or Pancakes: One of the simplest and most delightful ways to enjoy apple butter is spreading it generously on warm toast or pancakes.
2. Incorporating into Baked Goods: Use apple butter as a substitute for oil or butter in muffins and cakes for added moisture and flavor.
3. Pairing with Cheese or Meat in Savory Dishes: Apple butter also shines in savory applications. Pair it with a cheese platter, or use it as a glaze for pork or chicken to elevate your dishes.
Health Benefits of Homemade Apple Butter
Beyond its comforting taste, homemade apple butter offers several health benefits compared to store-bought options.
Nutritional Profile of Apple Butter Compared to Store-Bought Options
Homemade apple butter usually contains fewer preservatives and additives than store-bought varieties. By controlling your ingredients, you can make a healthier version tailored to your taste and dietary needs.
Benefits of Using Natural Sugars and Spices
Using natural sweeteners like maple syrup or honey provides a more wholesome alternative to refined sugars. Additionally, spices such as cinnamon and nutmeg have anti-inflammatory properties and can aid digestion.
Potential Health Benefits of Apples and Spices
Apples are a great source of dietary fiber, which promotes gut health and can help regulate blood sugar levels. The spices used in apple butter not only enhance flavor but also provide additional health benefits, such as antioxidant properties and improved heart health.
Conclusion
Homemade apple butter is not just a spread; it’s a warm embrace of fall flavors that brings comfort and joy to any table. The process of creating this delightful condiment is simple and rewarding, making it a fantastic addition to your fall traditions. As you experiment with different spices and apple varieties, you’ll find your perfect blend—a unique recipe that you can share with friends and family.
Whether you’re spreading it on your breakfast toast or using it in your favorite baked goods, apple butter is a versatile ingredient that captures the essence of the season. So roll up your sleeves, gather your ingredients, and enjoy the satisfaction of crafting a homemade product that embodies the warmth and flavors of fall.
