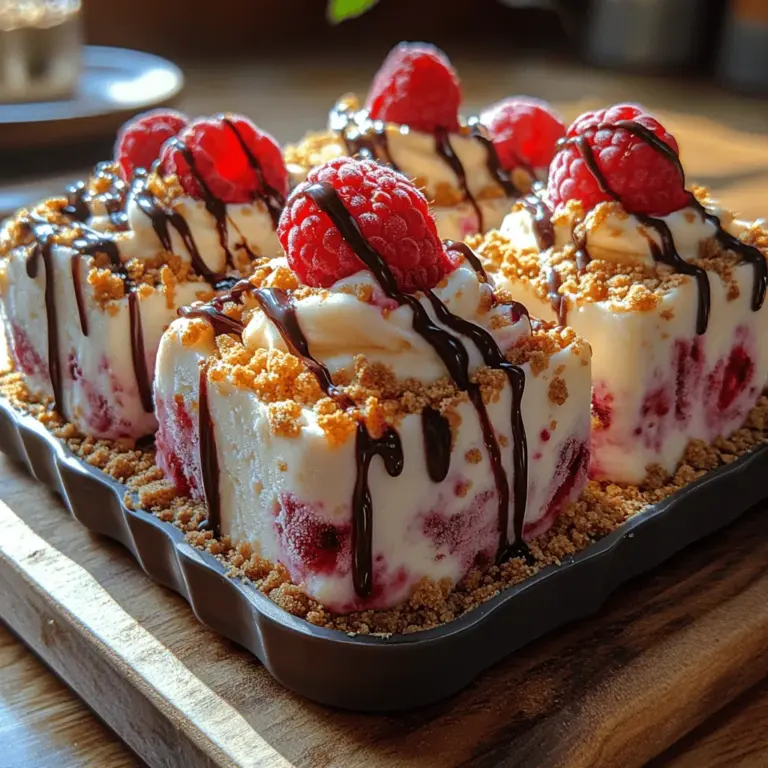
Frozen Yogurt Raspberry Cheesecake Bombs: An Irresistible Frozen Delight
In recent years, frozen treats have taken the culinary world by storm, evolving from simple ice creams to gourmet desserts that cater to sophisticated palates. Among the various frozen options, one delightful trend is the fusion of classic cheesecake flavors with the refreshing tang of frozen yogurt. This combination not only provides a satisfying indulgence but also offers a lighter alternative to traditional desserts. Enter the Frozen Yogurt Raspberry Cheesecake Bombs—a dessert that perfectly encapsulates this trend. These little bites are a harmonious blend of creamy cheesecake filling, tart raspberries, and a crunchy graham cracker crust, making them an ideal treat for warm weather or any time you crave something sweet yet refreshing.
Understanding the Ingredients
To truly appreciate the Frozen Yogurt Raspberry Cheesecake Bombs, it’s essential to delve into the ingredients that bring this recipe to life. Each component plays a crucial role in achieving the desired texture and flavor.
1. Graham Cracker Crumbs: The foundation of our cheesecake bombs starts with graham cracker crumbs. These crumbs are not just a simple base; they provide a flavorful crunch that contrasts beautifully with the creamy filling. The subtle sweetness and slight nuttiness of the graham crackers create a perfect canvas for the rich cheesecake flavors. Additionally, using finely crushed crumbs ensures a smooth texture that holds together well when pressed into molds.
2. Unsalted Butter and Granulated Sugar: The addition of unsalted butter is critical for achieving the right consistency in the crust. It helps to bind the graham cracker crumbs together, creating a sturdy yet tender base. The granulated sugar mixed with the crumbs adds a touch of sweetness and enhances the overall flavor of the crust. When melted and combined, these two ingredients create a mixture that can be easily pressed into the bottom of molds, providing the necessary support for the cheesecake filling.
3. Cream Cheese: No cheesecake is complete without cream cheese. This classic ingredient forms the heart of our filling, delivering that signature creamy texture and rich flavor that cheesecake lovers adore. For the best results, it’s important to use full-fat cream cheese, as it contributes to a richer and smoother filling. Make sure to allow the cream cheese to soften at room temperature before mixing, which will help achieve a lump-free and creamy consistency.
4. Greek Yogurt: To add a healthier twist to our cheesecake bombs, we incorporate Greek yogurt. This ingredient not only enhances the creaminess of the filling but also introduces a tangy flavor that complements the sweetness of the cream cheese. Greek yogurt is also higher in protein than traditional yogurt, making this dessert a guilt-free indulgence. It’s important to use plain, unsweetened Greek yogurt to maintain control over the sweetness of the final product.
5. Fresh vs. Frozen Raspberries: Raspberries are the star fruit in our recipe, providing a burst of tartness that cuts through the richness of the cheesecake filling. While both fresh and frozen raspberries can be used, each has its own set of advantages. Fresh raspberries offer a gorgeous presentation and vibrant flavor, making them ideal for garnishing. On the other hand, frozen raspberries can be more economical and are often available year-round. When using frozen raspberries, it’s crucial to thaw them completely and drain any excess liquid to prevent the filling from becoming too watery.
6. Optional Dark Chocolate Drizzle: For those looking to elevate their Frozen Yogurt Raspberry Cheesecake Bombs even further, a drizzle of dark chocolate can be a game-changer. The rich, slightly bitter flavor of dark chocolate complements the sweetness of the cheesecake and the tartness of the raspberries beautifully. Not only does it enhance the overall taste, but it also adds an elegant touch to the presentation.
Preparation Steps Explained
Now that we’ve explored the essential ingredients, let’s dive into the preparation of these delightful cheesecake bombs. The process begins by creating the crust, which sets the stage for the creamy filling.
1. Preparing the Crust: Start by preheating your oven to 350°F (175°C). In a medium mixing bowl, combine the graham cracker crumbs, melted unsalted butter, and granulated sugar. Mix these ingredients until they are well combined, and the crumbs are evenly coated with butter. The mixture should have a sandy texture that holds together when pressed.
2. Achieving the Right Texture: The key to a successful crust is achieving the right texture. It should be moist enough to hold its shape but not overly wet. If the mixture feels too dry, you can add a little more melted butter, one tablespoon at a time, until it reaches the desired consistency.
3. Pressing the Crust into Molds: Once your crust mixture is ready, it’s time to transfer it to your molds. Using a tablespoon or your fingers, press the mixture firmly into the bottom of each mold, ensuring an even layer. It’s essential to pack the crust tightly to prevent it from crumbling when you remove the bombs later. A flat-bottomed measuring cup or a small glass can be helpful for this step, allowing you to create a smooth and compact crust.
4. Baking the Crust: Place the molds in the preheated oven and bake for about 8-10 minutes, or until the crust is lightly golden. This step is crucial as it helps to set the crust and adds a toasty flavor. Once baked, remove the molds from the oven and allow them to cool completely before adding the cheesecake filling.
5. Making the Cheesecake Filling: While the crust cools, you can prepare the cheesecake filling. In a large mixing bowl, combine the softened cream cheese and Greek yogurt. Using an electric mixer, beat the ingredients on medium speed until smooth and creamy, ensuring there are no lumps. This step is essential for achieving that velvety texture that characterizes a great cheesecake.
6. Incorporating Sweetness and Flavor: Gradually add in granulated sugar and any additional flavorings, such as vanilla extract, to the cream cheese and yogurt mixture. Continue to mix until fully incorporated, tasting as you go to ensure the sweetness is to your liking.
7. Adding Raspberries: Finally, gently fold in the fresh or thawed raspberries, taking care not to break them apart too much. The goal is to distribute the berries throughout the filling while still keeping some whole for bursts of flavor in each bite.
This combination of steps will prepare you for the next phase of assembling the Frozen Yogurt Raspberry Cheesecake Bombs, where the crust and filling come together to create a refreshing dessert that’s sure to impress. Stay tuned for the final stages of this delicious recipe!
Assembling the Cheesecake Bombs
Carefully folding in raspberries is a critical step in creating your Frozen Yogurt Raspberry Cheesecake Bombs. This process ensures that the raspberries are evenly distributed throughout the creamy cheesecake mixture without breaking them down into mush. Start by washing your fresh raspberries gently under cold water, then pat them dry with a paper towel. In a mixing bowl, add your raspberry puree to the cheesecake mixture and fold in the fresh raspberries using a spatula. Take care to use a gentle motion, turning the mixture over itself until the raspberries are just incorporated. This will keep the berries intact and provide delightful bursts of flavor in each bite.
Tips for Filling Molds Evenly
Once your raspberries are folded in, it’s time to fill your molds. For best results, use silicone molds for easy removal. Begin by spooning a small amount of the cheesecake mixture into each mold, filling them about halfway. To ensure a smooth and even surface, use the back of a spoon to press the mixture firmly and level it out. Next, you can add a layer of graham cracker crumbs or your chosen crust at this stage, followed by more cheesecake mixture until the molds are filled to the top. Using a spatula to smooth out the surface will help create a professional-looking finish.
Freezing Process
The freezing process is crucial for achieving the right texture and flavor development in your Frozen Yogurt Raspberry Cheesecake Bombs. Place the filled molds in the freezer for at least four to six hours, or until they are completely solid. This not only firms up the cheesecake but also allows the flavors to meld beautifully. The longer you freeze them, the better the texture will be.
Serving and Presentation
How to Properly Unmold the Cheesecake Bombs
Once your cheesecake bombs are fully frozen, it’s time to unmold them. To do this, gently pull on the edges of the silicone mold to loosen the bombs. If they are stubborn, you can run a warm, damp cloth around the outside of the mold for a few seconds to help release the cheesecake bombs. Turn the mold upside down and gently tap it on a clean surface; with a little patience, they should pop out smoothly.
Techniques for Smooth Release
To ensure your cheesecake bombs come out without any hassle, consider lightly greasing the molds with cooking spray or a thin layer of coconut oil before adding the mixture. This will create a non-stick surface that aids in easy removal. Additionally, allowing them to sit at room temperature for a few minutes before attempting to unmold can help, as this slight warming can make the bombs easier to release without breaking.
Ideas for Serving
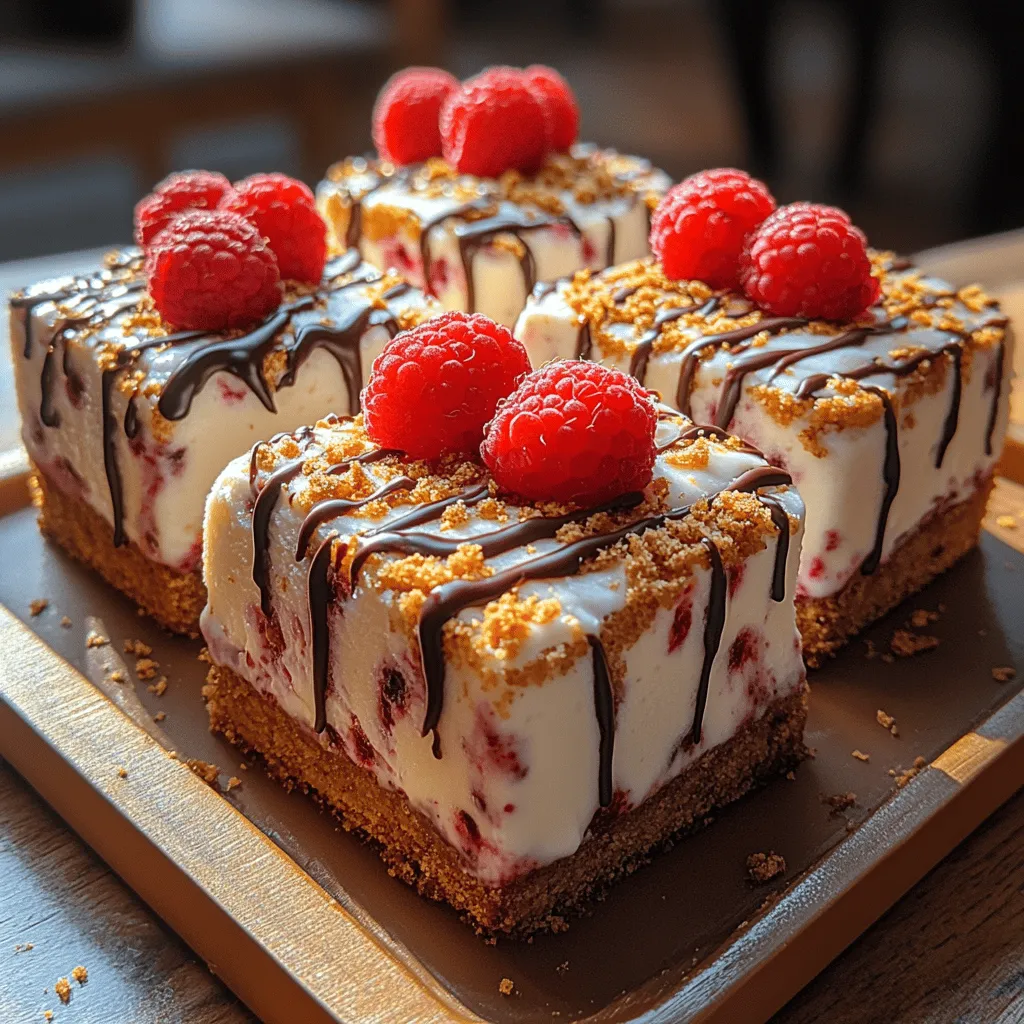
For a visually appealing presentation, serve your cheesecake bombs on a chilled plate. You can arrange them in a circular formation and sprinkle some extra graham cracker crumbs around for a lovely touch. Another idea is to place them in individual dessert cups for a more elegant look.
Garnishing Suggestions
Garnishing can elevate your dish from ordinary to extraordinary. Fresh raspberries or mint leaves make excellent garnishes that add a pop of color and freshness. You can also drizzle some melted chocolate over the bombs for an indulgent touch. A chocolate drizzle complements the tartness of the raspberries beautifully and adds an extra layer of flavor.
Nutritional Overview
Nutritional Benefits of the Main Ingredients
Frozen Yogurt Raspberry Cheesecake Bombs are not only a delicious treat, but they also come with several nutritional benefits. The main ingredients, including Greek yogurt and fresh raspberries, offer a wealth of vitamins and minerals. Greek yogurt is an excellent source of protein and probiotics, which are beneficial for gut health. Raspberries, on the other hand, are rich in antioxidants, vitamins C and K, and dietary fiber, which can contribute to a healthy diet.
Healthier Alternative to Traditional Cheesecake
This recipe serves as a healthier alternative to traditional cheesecake, which is often laden with sugar and saturated fats. By incorporating yogurt and fresh fruit, you reduce the caloric content while enhancing the flavor profile. Each serving offers a satisfying dessert experience without the guilt associated with conventional cheesecakes.
Caloric and Macronutrient Breakdown
On average, each Frozen Yogurt Raspberry Cheesecake Bomb contains approximately 120 calories, making it a guilt-free indulgence. The macronutrient breakdown is approximately 6 grams of protein, 8 grams of carbohydrates, and 7 grams of fat per serving, depending on the specific ingredients used. You can further tailor the recipe to meet your dietary needs by opting for low-fat yogurt or sugar substitutes.
Dietary Considerations
For those with dietary restrictions, this recipe is easily adaptable. The cheesecake bombs can be made gluten-free by using gluten-free graham cracker alternatives. Additionally, for those looking to reduce sugar intake, consider using a natural sweetener like stevia or monk fruit to sweeten the mixture without adding calories.
Conclusion
In summary, Frozen Yogurt Raspberry Cheesecake Bombs present a delightful treat that is perfect for warm summer days or special occasions. Their refreshing taste and creamy texture are sure to impress family and friends alike. Creating these cheesecake bombs at home not only allows you to experiment with flavors and personal touches but also ensures that you are enjoying a healthier dessert option.
Whether you serve them at a gathering, as a fun family dessert, or simply to satisfy your sweet tooth, these cheesecake bombs are incredibly versatile. Feel free to explore different flavor variations by incorporating other fruits like strawberries or blueberries, or even adding a swirl of caramel for a decadent twist.
We encourage you to try making your own Frozen Yogurt Raspberry Cheesecake Bombs at home and enjoy the satisfaction of crafting a delectable dessert that is both pleasing to the eye and palate. With a few simple ingredients and some creativity, you can create a dessert that is not only enjoyable but also a healthier choice compared to traditional sweets.
